Free Shipping over $40
Under $40 - Flat rate shipping $5
Growing Guide
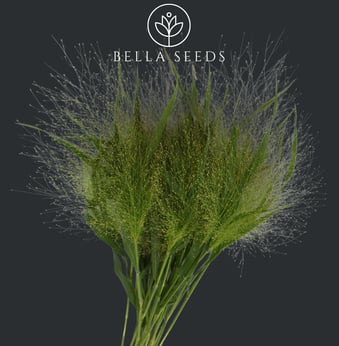
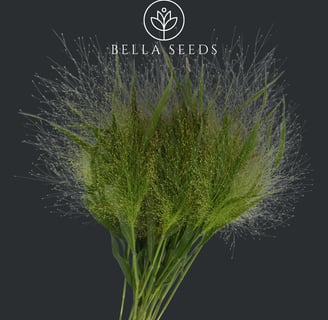
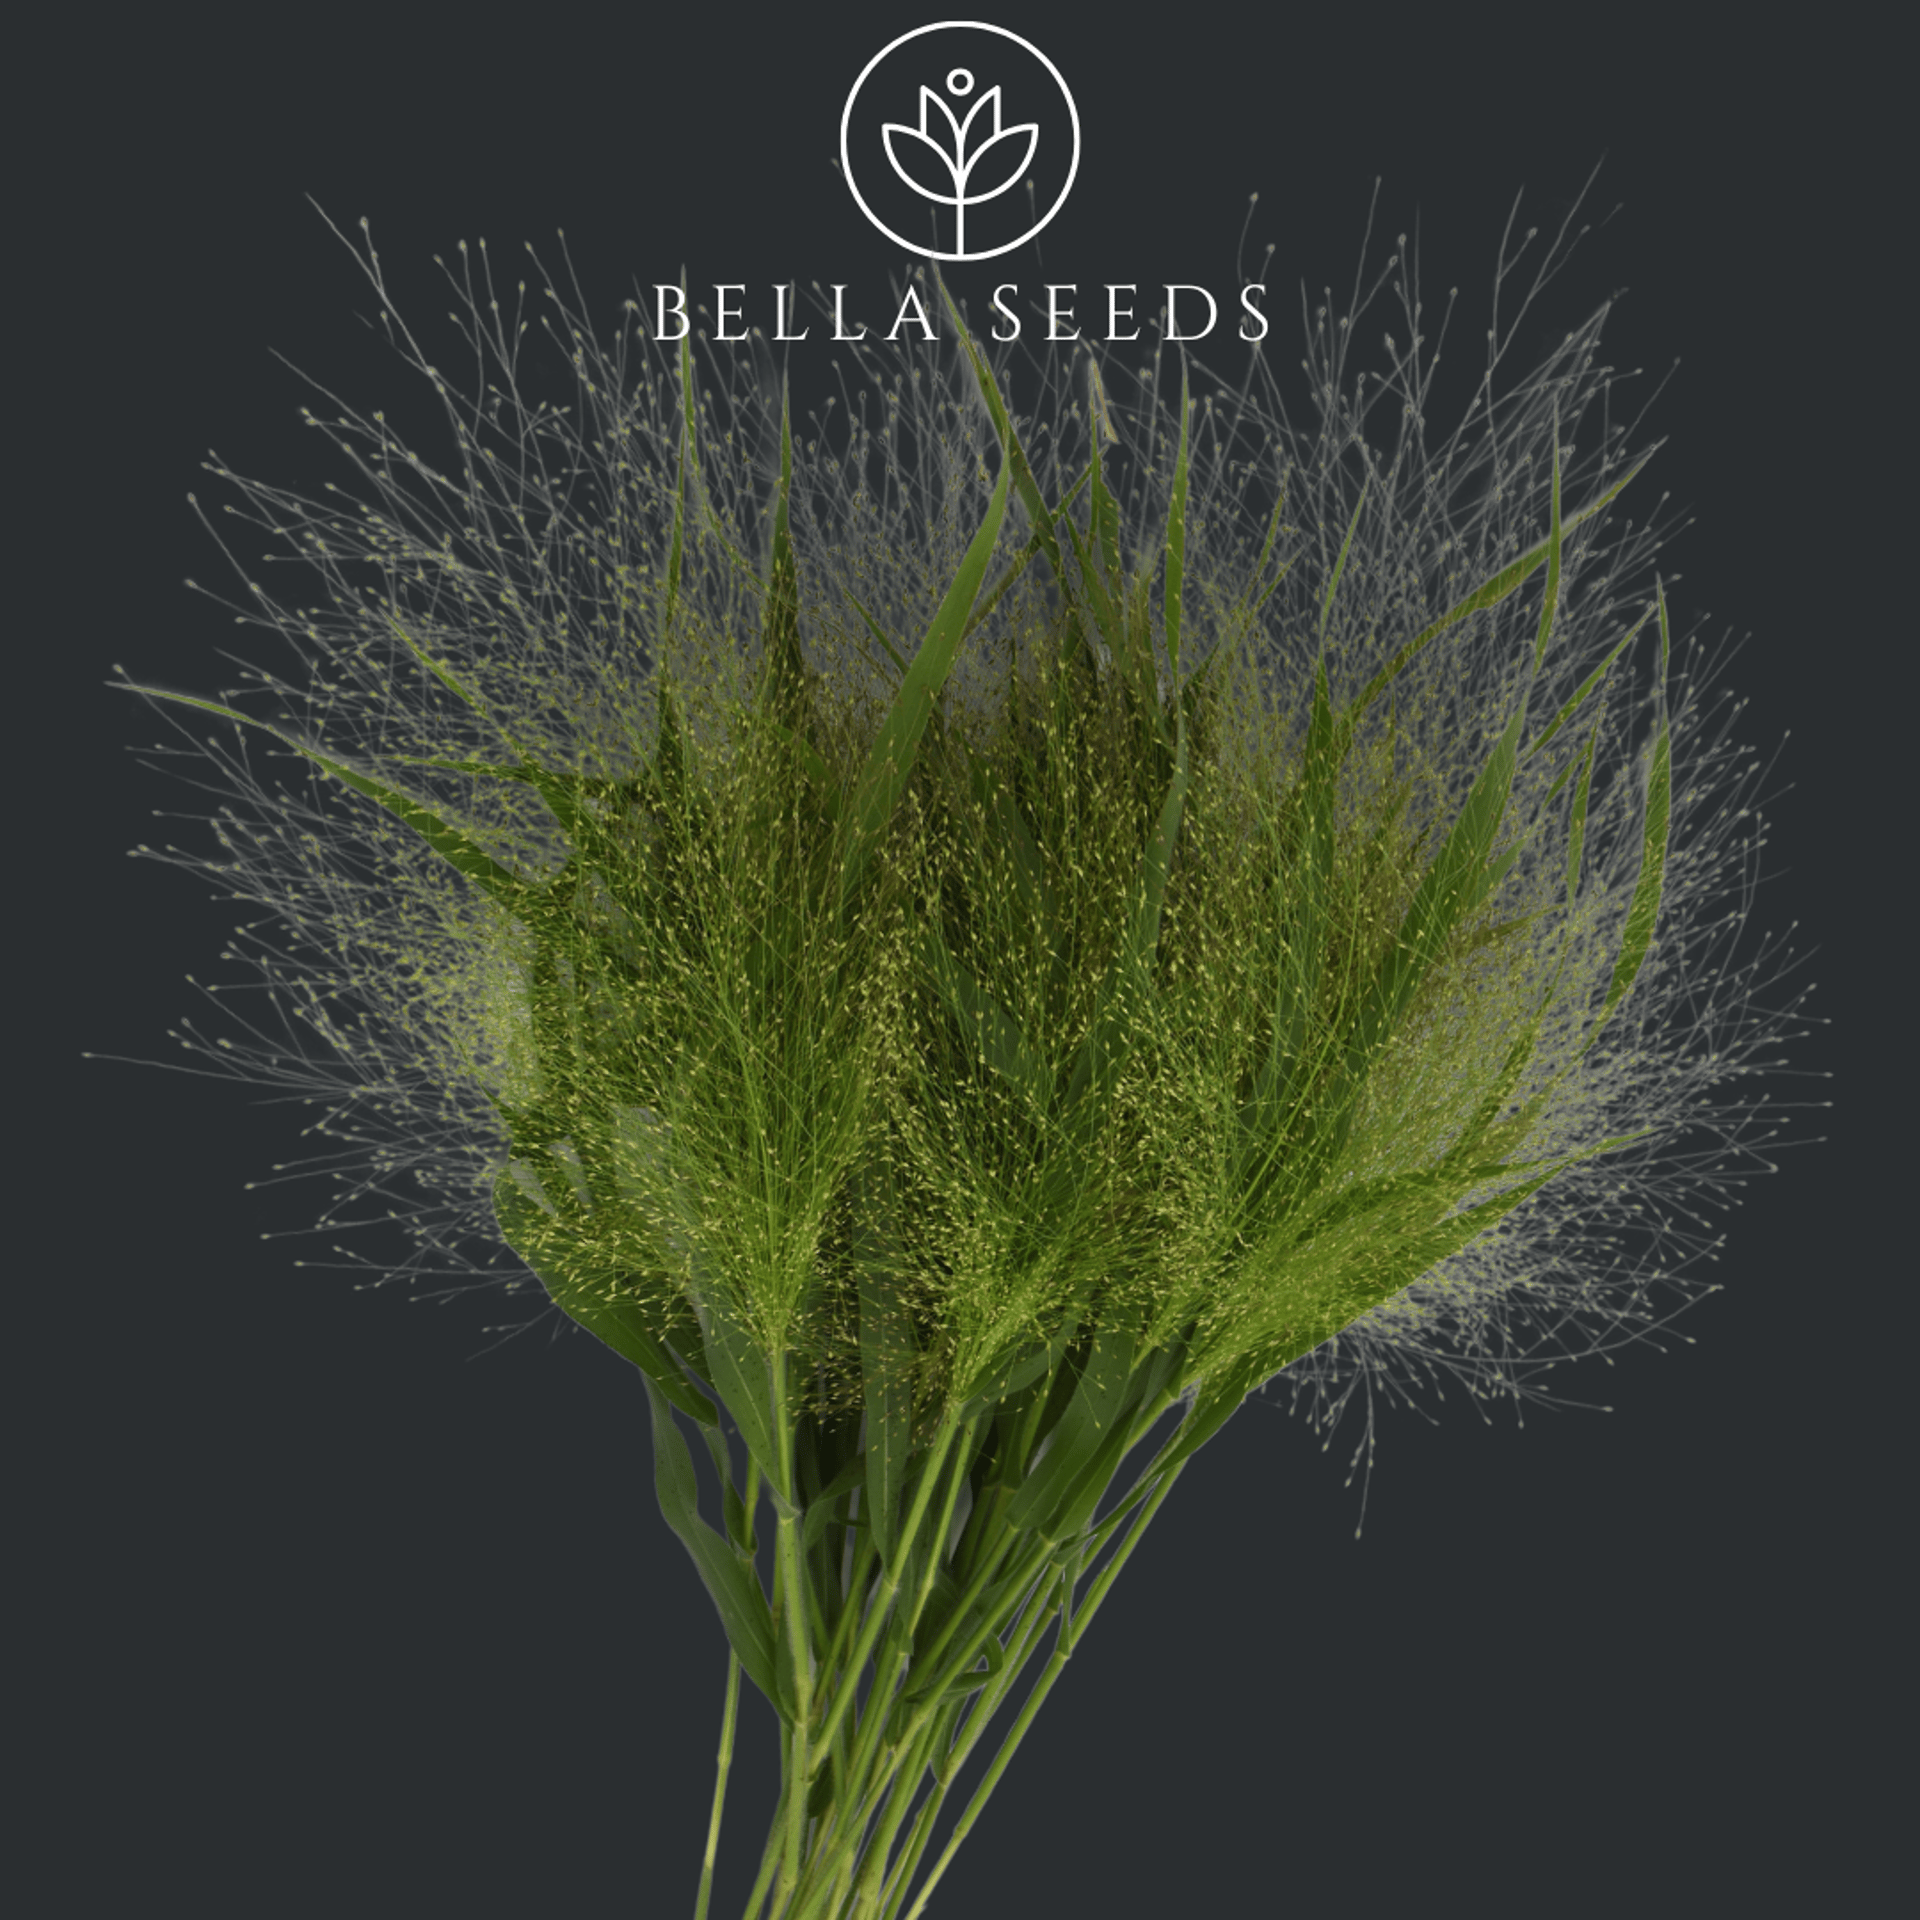
FROSTED EXPLOSION GRASS
(Panicum capillare)
Growing Frosted Explosion Grass from seed:
Is easy!
Growing Frosted Explosion Grass from seed is a rewarding process, as these whimsical flowering plants are well-suited to sunny environments with well-draining soil.
Once established, the plants are low-maintenance and drought-tolerant, turning gardens into a spectacular display of unique blooms.
Direct Sow into the garden:
Timing: 2-4 weeks before last spring frost
Seed Depth: Surface Sow
Germination time: 7-10 days
Quick Guide
Sow seeds indoors:
Timing: 5-6 weeks before last spring frost
Seed Depth: Surface Sow
Germination time: 7-10 days
Transplant: After last frost date
Plant Specifications


Light Preference
Plant Height
Plant Spacing
Hardiness
Full Sun
12-16"
6-8"
Annual Zones 3-8
Perennial Zones 9-11
Write your text here...
Direct Sowing - Step-by-step Guide
Materials Needed:
Seeds
Garden soil
Trowel or garden fork
Watering can or garden hose
Mulch (optional)
Instructions:
Timing:
Early spring is ideal for sowing seeds, especially in cooler climates. In warmer regions, fall planting allows the seeds to stratify naturally over winter.
Select a planting site:
Choose a sunny location
Make sure the soil is well-draining.
Prepare the soil:
Loosen the soil to a depth of about 6 inches (15 cm) using a trowel or garden fork.
Remove any weeds, stones, or debris.
If the soil is heavy, consider mixing in some sand to improve drainage.
Plant the Seeds:
Scatter the seeds thinly across the prepared soil surface. Grasses prefer to be surface sown as they need light to germinate.
Lightly press the seeds into the soil, but do not cover them.
Water Gently:
Use a watering can or gentle spray nozzle on the water hose to gently water seeds.
Keep the soil moist but not waterlogged until the seeds germinate, which can take 10-15 days.
Thin Seedlings:
Once seedlings have a few real leaves and are about 2 inches tall, thin them to about 3-5 plants per square foot. This ensures the plants have enough space to grow and reduces competition for nutrients.
Ongoing Care:
Water as needed to keep the soil lightly moist during the growing season. Once established, the plants are drought-tolerant.
Weed regularly to prevent competition.
Mulch can be added to help retain moisture and suppress weeds, but it's not essential.
Enjoy Blooms:
Grasses bloom in summer through late fall.
Deadheading (removing spent flowers) can encourage more blooms.
Harvest Seeds:
After the bloom period, allow some seed to dry on the plant if you wish to collect seeds for future planting.
Once dried and brown, cut the flowers and shake seeds loose from foliage.
Store the seeds in a cool, dry place.
Following these steps will help ensure a beautiful display of filler grass in your garden!
Step-by-Step Instructions - Starting Seeds Indoors
Collect Supplies:
Seeds
Seed starting trays or pots
Seed starting mix (sterile)
Labels and a marker
Plastic wrap or a humidity dome
Spray bottle or watering can with a fine nozzle
Grow lights or a sunny windowsill
Timing
When to Start: 5-6 weeks before planting out.
Preparation
Clean Containers: Sterilize your seed starting trays or pots to prevent disease.
Moisten Seed Mix: Slightly moisten your seed starting mix so it's damp but not soggy.
Planting Seeds
Fill Trays: Fill each cell in the seed tray with the moist seed starting mix.
Sow Seeds: Place 3-5 seeds in each cell or pot.
Label Trays: Label each tray or pot with the variety and the planting date.
Germination
Cover Seeds: Very lightly cover seeds with soil and add a thin layer of fine vermiculite to prevent algae growth on soil surface.
Moisten Surface: Use a spray bottle to mist the top of the soil.
Create Humidity: Cover the seed trays with plastic wrap or a humidity dome to maintain moisture.
Warmth: Place the trays in a warm location (70-75°F or 21-24°C). A heat mat can help.
Light and Watering
Lighting: Once the seeds germinate (about 7-10 days), remove the cover and place the seedlings under grow lights or in a sunny windowsill. Provide 12-16 hours of light per day.
Watering: Keep the soil moist but not waterlogged. Water from the bottom if possible to prevent damping-off disease.
Take Care of Seedlings
Hardening Off: About a week before transplanting outdoors, start to harden off your seedlings by gradually exposing them to outdoor conditions for increasing time periods each day.
Transplanting Outdoors
Timing: Transplant the seedlings outdoors after all danger of frost has passed.
Soil Preparation: Choose a sunny spot with well-draining soil. Amend with compost if needed.
Planting: Plant seedlings with a density of 3-5 grass plants per square foot.
Watering: Water lightly but thoroughly after planting.